
Mastering the Art of Grafting: How to Use a Grafting Knife
Eleanor AshfordThere’s something truly magical about grafting. The ability to take two separate plants and unite them into one thriving organism is a testament to the wonders of horticulture. And at the heart of this skill lies a small but mighty tool—the grafting knife.
If you’ve ever dreamed of growing your own fruit trees, propagating rare roses, or experimenting with plant hybrids, then a grafting knife is an indispensable addition to your gardening kit. But how do you use it properly? Let’s delve into the art and precision of grafting and get you slicing and splicing like a pro.
What is a Grafting Knife?
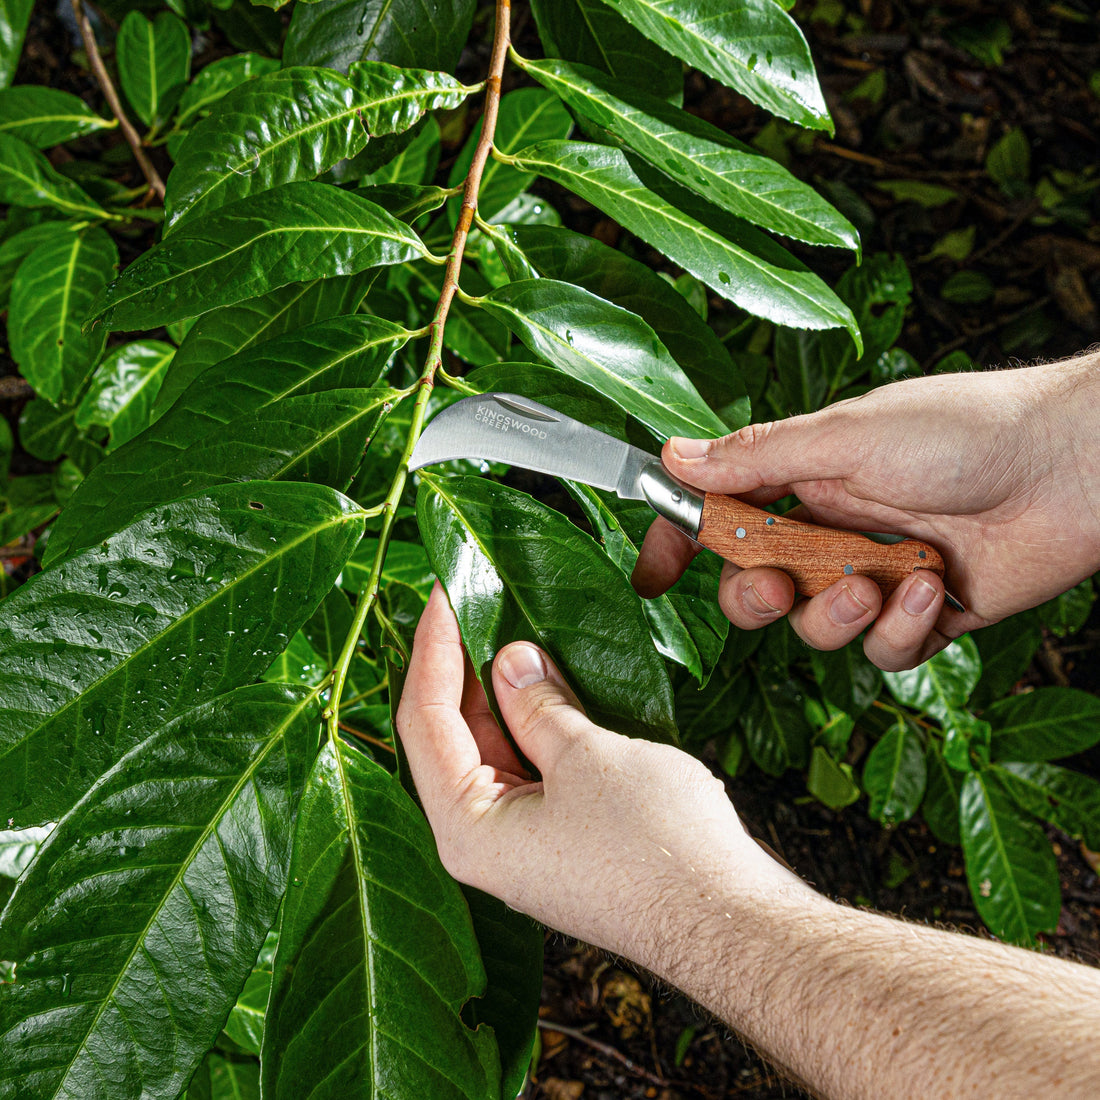
Unlike ordinary garden knives, a grafting knife is designed with a razor-sharp blade, allowing for precise and clean cuts essential for successful grafting. Many have a single bevel edge, which ensures a smooth, flat cut without tearing plant tissue. Some models even feature a folding blade for convenience and safety.
Choosing the Right Grafting Technique
There are several different methods of grafting, each suited to particular plants and purposes. The most common include:
- Whip and Tongue Grafting – Ideal for fruit trees and woody plants, this involves making a matching sloping cut on both the rootstock and the scion (the desired plant cutting), with an additional ‘tongue’ cut to interlock them.
- Cleft Grafting – Perfect for larger rootstocks, this method involves splitting the rootstock and inserting one or more scions.
- Budding – A technique often used for roses and stone fruits, budding involves inserting a single bud rather than a whole stem.
Using Your Grafting Knife
- Prepare Your Tools and Materials – Ensure your grafting knife is clean and sharp. A dull blade will result in ragged cuts that hinder successful grafting. You’ll also need grafting tape or wax to secure the graft.
- Make the Cut – Precision is key. Use smooth, controlled movements to make a clean cut on both the rootstock and scion. Depending on the technique you’re using, this may involve angled slices, tongues, or small buds.
- Join the Pieces – Align the scion and rootstock as closely as possible, ensuring the cambium layers (the part responsible for new growth) make contact. The better the fit, the higher the chance of success.
- Secure the Graft – Wrap the joint firmly with grafting tape to hold it in place and prevent it from drying out. In some cases, a protective layer of grafting wax is applied to keep out moisture and disease.
- Wait and Watch – Keep an eye on your grafted plant over the coming weeks. If successful, new growth should emerge from the scion, signalling that the graft has taken.
Tips for Grafting Success
- Always sterilise your grafting knife before and after use to prevent the spread of disease.
- Choose compatible plant varieties for the best results.
- Keep your newly grafted plants in a sheltered spot to protect them from harsh weather.
Grafting is one of the most rewarding skills a gardener can learn, allowing you to create unique plant combinations, save heritage varieties, and enjoy an abundant harvest. With patience, practice, and the right grafting knife, you’ll be well on your way to mastering this fascinating technique. Happy grafting!